Application Data Backup |
  
|
Application Data Backup |
|
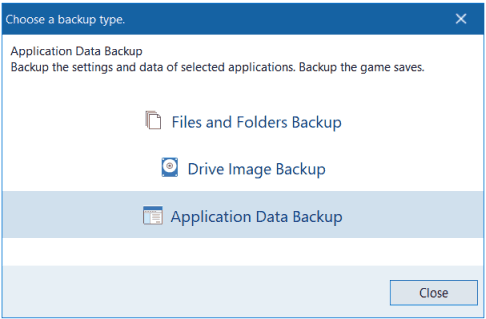
Backup the settings and data of selected applications.Backup game saves.
Each application/game keeps its settings and data in the different directories on a local disk, in the Registry keys.
We have discovered these paths for the most popular software and games for Windows. The data is stored in the database and includes more than 8,000 items.
Click the button "New Job" to begin job creation:

Select "Application Data Backup".
You will have to enter a name of the job, and then you will see a Job Creation Wizard. It allows to configure your new backup job.
You need to complete 3 steps:
1. What do you want to backup?
Choose the items you want to backup.
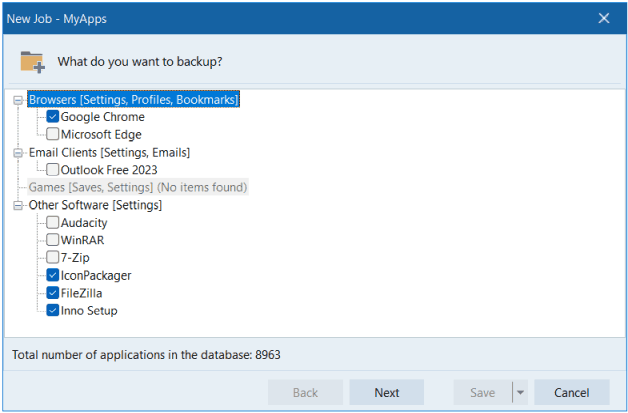
Click "Next" to go to the next step.
2. Where to store your backup?
On this step you need to choose the destination for the application data files.
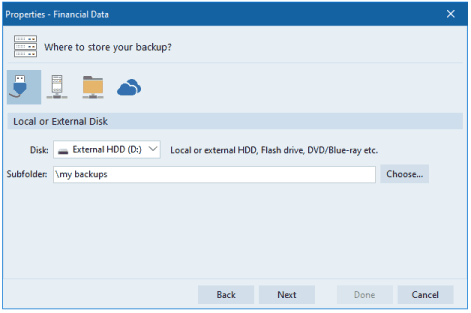
At first, choose the storage type: Local or External Drive, Network, FTP or Cloud.
After that you must specify the path to directory where you want to store the backup every time the job is executed.
•For Local / External Drive.
Choose the disk letter in the first combo. Then click "Choose..." to select the Subfolder using the Directory Dialog. Alternatively you can enter the subfolder path directly into the text field.
•For Network.
You have to specify the path to the network folder in UNC-format. You can enter the path manually, or click "Choose..." button. If the remote location is password-protected, you need to specify the username and password.
•For FTP.
Click "Add..." button to add new FTP account. Configure the FTP settings of the new record, and click "Test" to make sure the program has access to FTP server and is able to create and remove the files. Then click "OK".
New FTP account will appear in the "Account" combo. After that click the "Choose..." button to open the FTP Client. The client will connect to the FTP account, and will list the files and folders in the root. Now you need to choose a subfolder where you want to store your backups. When you work in the FTP client, you can see the current path in the address bar. Once the desired path is selected, click the "Select" button.
•For Cloud.
Select the cloud service from the combo: Dropbox, Google Drive, OneDrive. Now you have to specify the subfolder path. You can do enter it manually, or by clicking the "Choose..." button. You will be asked to authorize the Perfect Backup application to make changes in your cloud account. When done, you can close the browser window. You will see the Cloud client, and the content of your cloud account is listed there. Please choose the backup destination folder and click "Select" button.
When everything is configured on this step, click the "Next" button to switch to the next step.
3. When to start backup?
This step is completely optional. Here you can specify days and time when you want to run backup job automatically.
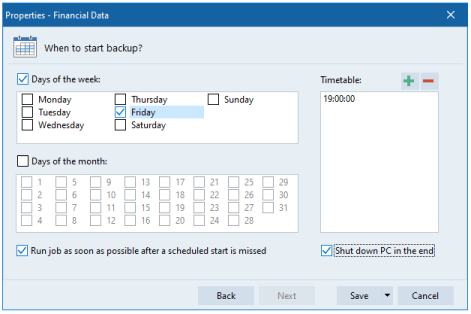
There are two options to choose from:
- Days of the week.
- Days of the month.
The timetable is applied for all the days selected.
When everything is ready, click "Save" to add new job to the table. Warning! In this case the job is not started immediately. To run backup you have to select the job in the table, then click "Backup" button.
If you want to save new job and run it immediately, please select "Save & Run" item from the dropdown menu of the "Save" button.
Note: in some cases (depending of selected applications) Perfect Backup should be started with Admin privileges. So if you want to schedule a backup job, please make sure you have started the application as Admin.